How to Build a Simple Set of Stairs
by Guest Post on Nov 5, 2014
Stairs are the standard, most basic method of getting from one level of our homes to the next. But building a safe and functional set of stairs can be a daunting and even challenging. Happily, these basic step-by-step instructions in this guide will help you rise to the challenge of building your first set of stairs.
First - Measure & Cut the Stringers and Risers
Our first step is to measure the length or distance of the staircase and cut the stringers to fit (be sure to measure to the final upper and lower floor levels for new construction). For a solid set of stairs, cut three stair stringers from 2" x 12" lumber. The third-stringer for the center of the steps gives the extra support for a nice solid and secure feel while going up or down the stairs Next you will want to put a small notch in the bottom of the stringers to fit over a small piece of 2" x 4" lumber which will be used to anchor the bottom of the staircase. All 3 stringers should be notched in the same manner.
Now for the stair treads, you will want to cut 10" treads from 2" x 10" lumber. The 7" risers will come from OSB sheets. You will also need a single piece of treated 2" x 4" lumber cut to a 3-foot length that will sit on the bare concrete floor and will secure the bottom of the staircase.
Next - Install the Bottom Anchor 2x4s
Place one of the stringers in its spot against the wall and have an assistant keep it firmly in place. Position into the notch the treated 2" x 4" then push it firmly against the wall. Drill through the 2" x 4" with a masonry bit into the concrete floor, and use concrete screws or nails to attach the 2" x 4" to the concrete floor.
After That - Attach the Stringers
Now you can connect the top stair support with the metal brackets and then toenail the first stringer to the 2" x 4" on the concrete floor. At the other end of the 2" x 4”, connect the second-stringer in the same way. Now you can place and connect the third-stringer midway between the first two outside ones.
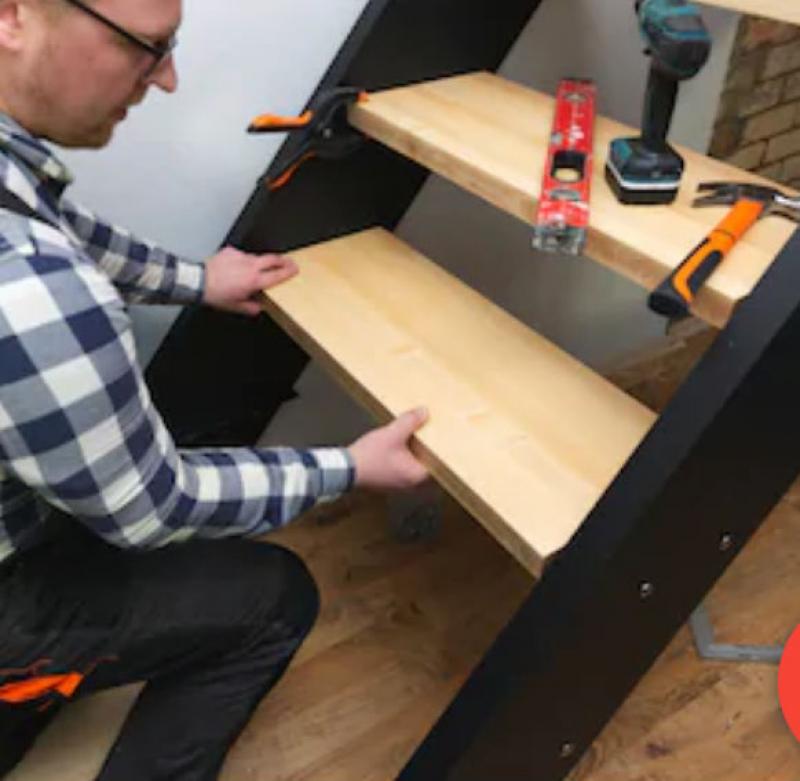
Last Step - Install the Stair Treads
With the three stringers firmly in place, you can now nail each of the 2" x 10" stair treads into the center of each stringer. Be careful to center the nail in each stringer so as not to split any of the stringers. After attaching all of the stair treads, you can nail the OSB risers into the center of each stringer. Once again be sure to center the nails in each stringer.
And that’s the final step. Now that you are all done with the stairs, you can finish them with either tile, carpet, or any manner you choose. For additional ease of use, you may want to add in a wooden stair railing.
Popular Articles
Three Places to Spend Money on the Exterior of Your Home
When you have the exterior of your home remodeled, you are investing, time, energy and convenience into the project and you want to make sure that...
95858 Views
Homemade Headboards-Make an Upholstered or Wooden Headboard
Homemade headboards can add a lot of personality to any bedroom. They can be coordinated with existing furniture and room decor or they can be the...
74465 Views
When to Use a Brush, Roller or Sponge Brush
Brushes are a good choice for painting trim and woodwork. They are also useful for cutting in the edges around the top and bottom edges and corners...
71826 Views
Creating a Cottage Kitchen with Bead Board
Kitchen decor can range from modern and bold to elegant and elaborate by using strategic kitchen pieces. One of the most popular decorating trends...
52910 Views
Gas Fireplace Diagnostics and Troubleshooting
Follow these steps for diagnosing and troubleshooting Gas Fireplaces repairs. For the average DIYer, this may seem intimidating, depending on the...
30646 Views
Latest Articles
How Much Does It Cost To Take A Bath?
Plumbers know that a bath may seem like a relaxing luxury, but the real cost extends far beyond your water bill. The average soak uses 35 to 50...
on Apr 8, 2025
10 Concrete Patio Ideas on a Budget
A concrete patio can be a game-changer for your outdoor space. It is durable, versatile, and can be customized to fit your style. But what if you...
on Mar 25, 2025
Tips for Creating a Stunning Personalized Photo on Canvas
Order the unique beauty of a personalized photo on canvas and bring your memories to life. With a customized photo on canvas, you can transform...
on Mar 7, 2025
Best Areas to Buy Property in Singapore for Long-Term Growth
Singapore's real estate market remains one of the most stable and lucrative in the world. With limited land supply, strong governmental...
on Feb 18, 2025
Troubleshooting Excess Water in Your HVAC Secondary Condensate Drain Pan
When maintaining your air conditioning system, it is easy to overlook the condensate drain pan - until excess water starts pooling in places where...
on Jan 12, 2025
Featured Articles
What Type of Licensed Contractor Should You Hire?
on Feb 28, 2017
Hire Contractors / Estimates

Looking for a specialty project? There are many types of contractors available for your home improvement needs. Finding the right type of...
Sponsored Articles
Best Areas to Buy Property in Singapore for Long-Term Growth
on Feb 18, 2025
Real Estate / Finance

Singapore's real estate market remains one of the most stable and lucrative in the world. With limited land supply, strong governmental...
Actions
Top Categories
- Garden / Landscaping / Patio — 264
- Kitchen / Bathrooms — 240
- Real Estate / Finance — 203
- Appliance / Repair — 186
- Interior Design / Decor — 184
- HVAC / Air Conditioning — 148
- Cleaning / Maintenance — 144
- Improvements / Remodeling — 131
- Plumbing / Basements — 118
- Floors / Tile / Hardwood — 116
- Doors / Garages — 113
- Safety / Security — 113
Articles Archive
More DIY Articles
Missouri Local Builders Associations
Find a local builder or council, please contact the home builders' association (HBA) in your area.
Brush Up Nicely in the Bathroom!
There are plenty of reasons you might have had a new bathroom fitted, or might be considering having one fitted imminently. You might simply fancy...
How to Install Pavers
When installing pavers you want to get it right the first time, otherwise, you’ll end up having to make repairs after a few years. There are ways...
How to Fit a New Radiator, the Essentials for a Successful Project
You may decide to change your radiator for many reasons, and these could include replacing an old, inefficient radiator to save money and increase...
How to Get Rid of Rats Outside
According to the University of Arizona, effective methods of roof rat control include exclusion, habitat modification, trapping, and poison bait....