Save a Repair Bill This Fall with This 13-Step Furnace Maintenance Guide!
by Guest Post on Feb 6, 2017
It is important to have your furnace inspected regularly, but a professional inspection, furnace service, and repair can run you $100 or more depending on where you live and the time of year. Fortunately, you can easily save on this process by conducting it yourself. Here’s how.
1. Remove the Combustion Chamber Door
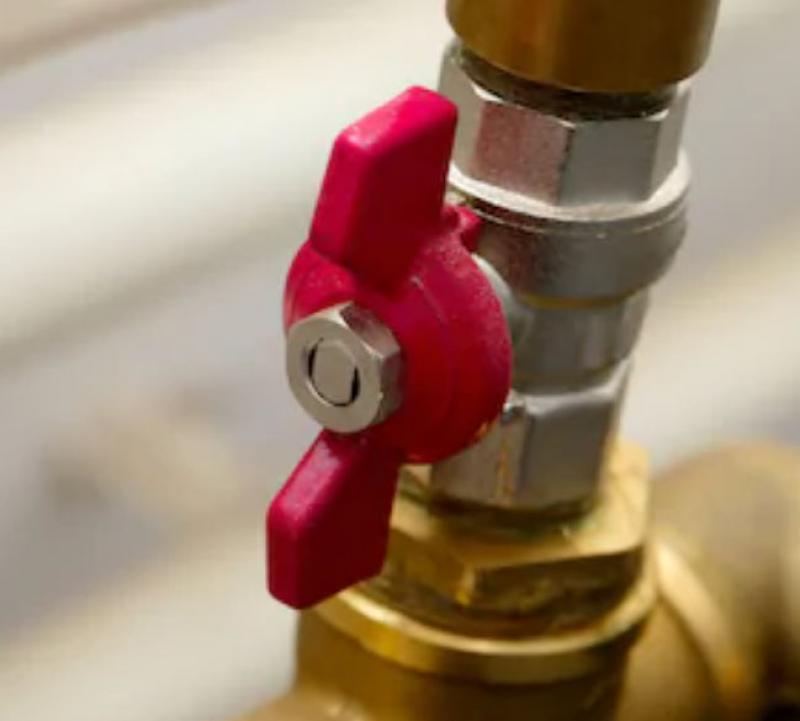
Before performing any maintenance, make sure to switch off the electrical power and the fuel supply. You can find the red power switchplate near the burner itself or at the top of the cellar stairs. The fuel shutoff valve should be near the oil tank or on the incoming gas pipe. In case of a future leak or fire, make sure you know the location of both.
After making sure that the power is switched off, remove the combustion chamber door by lifting and pulling it out. Then remove the burner cover, which is normally held in place by two screws.
2. Inspect the Burner Flames
Power the furnace back on, turn up your thermostat to activate the burners and look at the burner flames. What color are they? If they’re fairly even and blue, you’re good to go. If they’re yellow, your burner is dirty and you should call a professional to have them cleaned. Never attempt to adjust the burners yourself, and be careful not to breathe on the flames while inspecting them, as the oxygen in your breath can make them turn yellow.
3. Vacuum Out the Burner and Blower Cavities
If your burners are clean, switch the power back off and give the gas valve one quarter turn to shut it off. Then, everywhere you see dust, vacuum out the burners and the furnace base. Use a flashlight to keep an eye out for signs of soot, as this can be a sign of poor combustion. Next, remove the blower door and vacuum out the blower compartment.
4. Remove the Blower to Clean It
If there is a control panel in front of the blower, loosen the two screws holding it in place and let it hang. Then, remove the two bolts holding the blower in place with a 7/16 inch socket and ratchet. Lift the blower out.
5. Vacuum and Brush the Blower Blades
Carefully, using a vacuum and a small brush, clean the blower blades. Try not to disturb the wiring or the counterweights. Don’t try to clean the blower at all if you can’t do it thoroughly, as this could throw it off balance.
6. Change the Furnace Filter
You should change the furnace filter every one to three months, but you should never let it go for more than a year without being switched out. All of the air you breathe has to pass through this filter. A cheap fiberglass filter should do but you can also use a more expensive, high-efficiency filter if you prefer. However, these high-efficiency filters can backfire, restricting the airflow and making the furnace-less efficient.
7. Blow Dust Off the Pilot
Blow through a drinking straw to get the dust off the pilot. If the pilot is dirty, it can cause the flames sensor to think that the pilot isn’t lit when it is. Certain newer furnaces might have hot surface igniters instead of pilots and electronic igniters.
8. Clean the Flame Sensor
If the flame sensor is coated with residue, it can prevent your furnace from lighting. Pull it down out of its bracket and clean it lightly with fine emery cloth before replacing it.
9. Dust the Hot Surface Igniter Without Touching It
If your furnace has a hot surface igniter, clean the dust off by blowing through a straw. Do not touch the igniter because it can break very easily.
10. Inspect the Drive Belt
Inspect the drive belt for cracks or frayed areas. If you need to replace the drive belt, you can get a new one for around $5. After installation, tension the new belt so it deflects ½ to ¾ inches.
11. Lubricate Bearings if Necessary
If your furnace is older, it probably has two motor bearings and two blower shaft bearings. Find the oil caps, clean around them, and remove them. Being careful not to over-lubricate, apply two to three drops of lightweight machine oil before replacing the caps.
12. Adjust Dampers if Necessary
If your furnace heating ducts double as air conditioning ducts, they probably contain dampers that need to be adjusted seasonally. These seasonal settings should be marked. If you live in a two-story home, chances are you will have separate supply trunks for both the upstairs and downstairs.
13. Seal Leaky Air Ducts
Use special metal tape for high-temperature silicone to seal leaky ducts, paying special attention to return air ducts. Conduct a back-drafting test by adjusting the thermostat to activate the burners and holding a smoking stick of incense beside the draft hood to see where the smoke goes. If it is drawn into the hood, you’re good to go. Additionally, while your furnace and water heater are still cool, inspect the exhaust vent pipes for white powdery residue, which can indicate corrosion. If you find any problems, they should be addressed by a professional.
Popular Articles
Three Places to Spend Money on the Exterior of Your Home
When you have the exterior of your home remodeled, you are investing, time, energy and convenience into the project and you want to make sure that...
95798 Views
Homemade Headboards-Make an Upholstered or Wooden Headboard
Homemade headboards can add a lot of personality to any bedroom. They can be coordinated with existing furniture and room decor or they can be the...
74457 Views
When to Use a Brush, Roller or Sponge Brush
Brushes are a good choice for painting trim and woodwork. They are also useful for cutting in the edges around the top and bottom edges and corners...
71822 Views
Creating a Cottage Kitchen with Bead Board
Kitchen decor can range from modern and bold to elegant and elaborate by using strategic kitchen pieces. One of the most popular decorating trends...
52900 Views
Gas Fireplace Diagnostics and Troubleshooting
Follow these steps for diagnosing and troubleshooting Gas Fireplaces repairs. For the average DIYer, this may seem intimidating, depending on the...
30640 Views
Latest Articles
How Much Does It Cost To Take A Bath?
Plumbers know that a bath may seem like a relaxing luxury, but the real cost extends far beyond your water bill. The average soak uses 35 to 50...
on Apr 8, 2025
10 Concrete Patio Ideas on a Budget
A concrete patio can be a game-changer for your outdoor space. It is durable, versatile, and can be customized to fit your style. But what if you...
on Mar 25, 2025
Tips for Creating a Stunning Personalized Photo on Canvas
Order the unique beauty of a personalized photo on canvas and bring your memories to life. With a customized photo on canvas, you can transform...
on Mar 7, 2025
Best Areas to Buy Property in Singapore for Long-Term Growth
Singapore's real estate market remains one of the most stable and lucrative in the world. With limited land supply, strong governmental...
on Feb 18, 2025
Troubleshooting Excess Water in Your HVAC Secondary Condensate Drain Pan
When maintaining your air conditioning system, it is easy to overlook the condensate drain pan - until excess water starts pooling in places where...
on Jan 12, 2025
Featured Articles
What Type of Licensed Contractor Should You Hire?
on Feb 28, 2017
Hire Contractors / Estimates

Looking for a specialty project? There are many types of contractors available for your home improvement needs. Finding the right type of...
Sponsored Articles
Best Areas to Buy Property in Singapore for Long-Term Growth
on Feb 18, 2025
Real Estate / Finance

Singapore's real estate market remains one of the most stable and lucrative in the world. With limited land supply, strong governmental...
Actions
Top Categories
- Garden / Landscaping / Patio — 264
- Kitchen / Bathrooms — 240
- Real Estate / Finance — 203
- Appliance / Repair — 186
- Interior Design / Decor — 184
- HVAC / Air Conditioning — 148
- Cleaning / Maintenance — 144
- Improvements / Remodeling — 131
- Plumbing / Basements — 118
- Floors / Tile / Hardwood — 116
- Doors / Garages — 113
- Safety / Security — 113
Articles Archive
More DIY Articles
How to Choose a Stackable Washer and Dryer for a Rental Property
As a rental property owner, you know that attracting and keeping mature, responsible tenants can help ensure your investment is profitable and...
Effective Methods for Eliminating the Slipperiness on Marble Floors
Marble is a very popular material when decorating. You will find marble work surfaces, tiles, and even flooring. In fact, most houses have some...
The Best Outdoor Living Is Only a Wood Deck Away
Outdoor living and wooden decks are reminiscent of the everlasting chicken and egg dilemma. Does increased hunger for outdoor living give birth to...
Cutting the Confusion on Setting Bandsaw Blade Tension
Every woodworker will have their own unique method for determining the correct blade tension on a bandsaw. Some may rely on sight or even sound to...
Heavy Equipment Maintenance and Planning
When you work with heavy machinery, then it is not uncommon to see the equipment falter or even breakdown over time.